
This explains how to use “Smocking Template” that Smocking Corbeille originally developed.
For those who have purchased the template, please use this instruction page. For those who
have not, please refer to this page when considering whether to make a purchase.
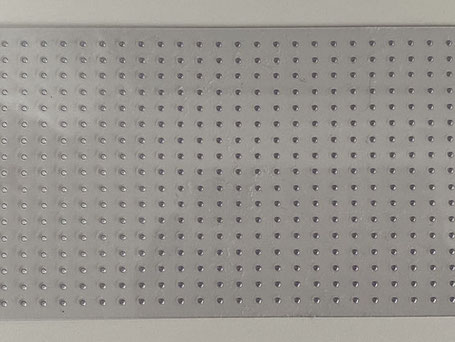
Template Details
Measurements: 9cm x 55cm with 0.5mm in thickness
There are 1,547 holes in total, 17 per vertical column, 91 per horizontal row
The holes are evenly spaced, 5mm apart in columns and 6mm apart in rows (allowing one to make pleated fabric with the same tension as one made using a pleater)
There is a 5mm border respectively along the top, bottom, left and right sides.
Material: PVC (polyvinyl chloride)
A flat and smooth surface is the right side for use.
Things Needed:Fabric, Erasable Marking Pen, Template, Sewing Weight (if any)
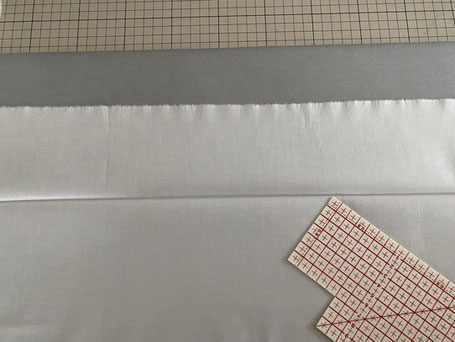
Fold the fabric 9 to 10 cm from the top, and press it with an iron to make a horizontal line to align with the fabric grain as much as possible.
Aligned with the ironed horizontal line,
place the template on the left half of the fabric.
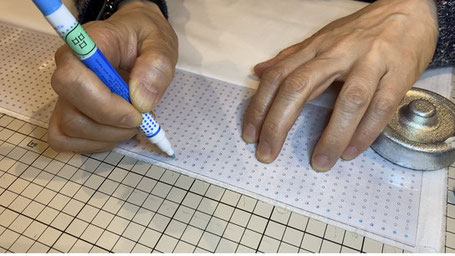
Using the sewing weight to keep it from moving,
mark each hole of the template with the marking
pen to dot the fabric.
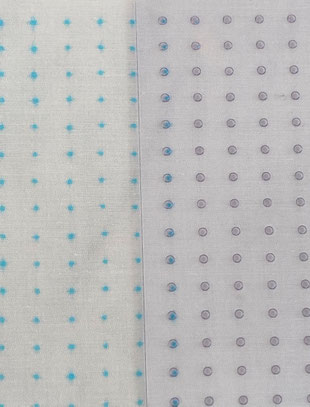
If you wish to dot the entire fabric, finish dotting the left half of the fabric first. Then reposition the template so that the template’s far-left column overlaps with the far-right column of the dotted left-half of the fabric.
Then dot the right half of the fabric in the same manner.
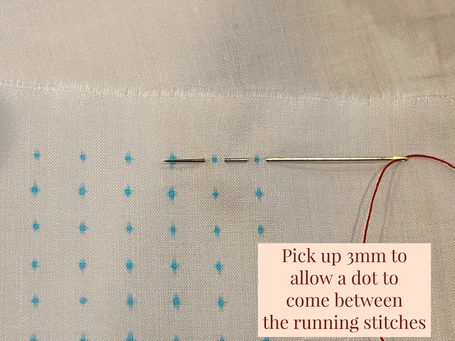
After dotting, make a running stitch.
Thread the needle with a 60cm long thread and tie a knot
at the end. Moving the needle from right to left in the first row, pick up a dot and make a running stitch about 3mm.
Either a sewing machine thread or a hand sewing thread is recommended.
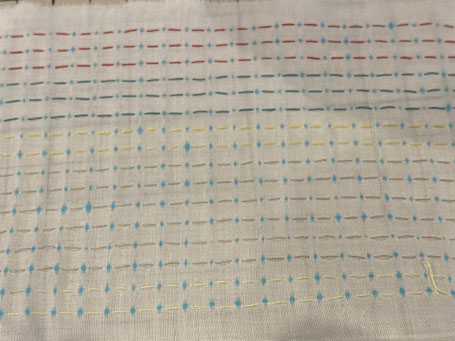
Similarly, do running stitches on every row or every other row.
For those who wish to do "English Smocking", work running stitch on all rows.
When finished the running stitches, make temporary knots loosely to keep the threads from falling out.
Put the fabric through water once to erase all the dots, and iron it at a medium heat while it’s half dry.
Then pull up the running stitches gradually to pleat the fabric, and tie off every 3 to 4 threads together where a good pleat is achieved.
After tying the knots, cut off the excess threads.
Leave as is the thread used for the running stitch on the top row for holding.
It won’t be used as a point of reference for smocking.
Begin smocking with the thread on the second row. Pick up about 2mm from the top of the
pleat. Be careful not to let the needle be caught in the running stitch threads. When done
smocking, work back smocking and pull out the running stitch threads. The thread on the top
row will be used for holding when sewing, so make sure the thread will be in place until the
sewing is complete.
Note:
★Please be mindful that water erasable marking pens become unable to be erased when heated.
★Make sure to use iron at a medium heat on the threads for sewing machines and hand sewing since they both are sensitive to high heat.
★Please be careful not to iron the template.